Creating a beautifully styled home doesn’t require an unlimited budget or professional designer—just a clear vision, strategic planning, and knowledge of proven design principles. Whether you’re refreshing a single room or reimagining your entire space, understanding popular interior design styles and practical implementation tips will help you achieve professional-looking results.
This guide walks you through actionable strategies I’ve used in dozens of home transformations, from budget-conscious updates to complete style overhauls. You’ll learn how to identify your aesthetic, work with color and texture, and avoid the common pitfalls that derail most DIY design projects.
Affiliate Disclosure: This article contains affiliate links. If you make a purchase through these links, we may earn a small commission at no additional cost to you.
Key Takeaways
- Start with a vision board to define your style before purchasing anything—this prevents costly mismatched purchases
- Declutter first to maximize your space’s potential; removing 30-40% of items typically makes rooms feel 50% larger
- Master color theory basics using the 60-30-10 rule: 60% dominant color, 30% secondary, 10% accent
- Layer textures and patterns strategically to add depth without overwhelming the space
- Lighting transforms ambiance—warm bulbs (2700-3000K) for living spaces, cooler (4000-5000K) for task areas
- Indoor plants add life and improve air quality; start with low-maintenance varieties like pothos or snake plants
Understanding Popular Interior Design Styles

Before diving into tips, it’s essential to understand the major design styles available in 2026. Each has distinct characteristics, and knowing these helps you identify what resonates with your personal aesthetic.
Modern Minimalist
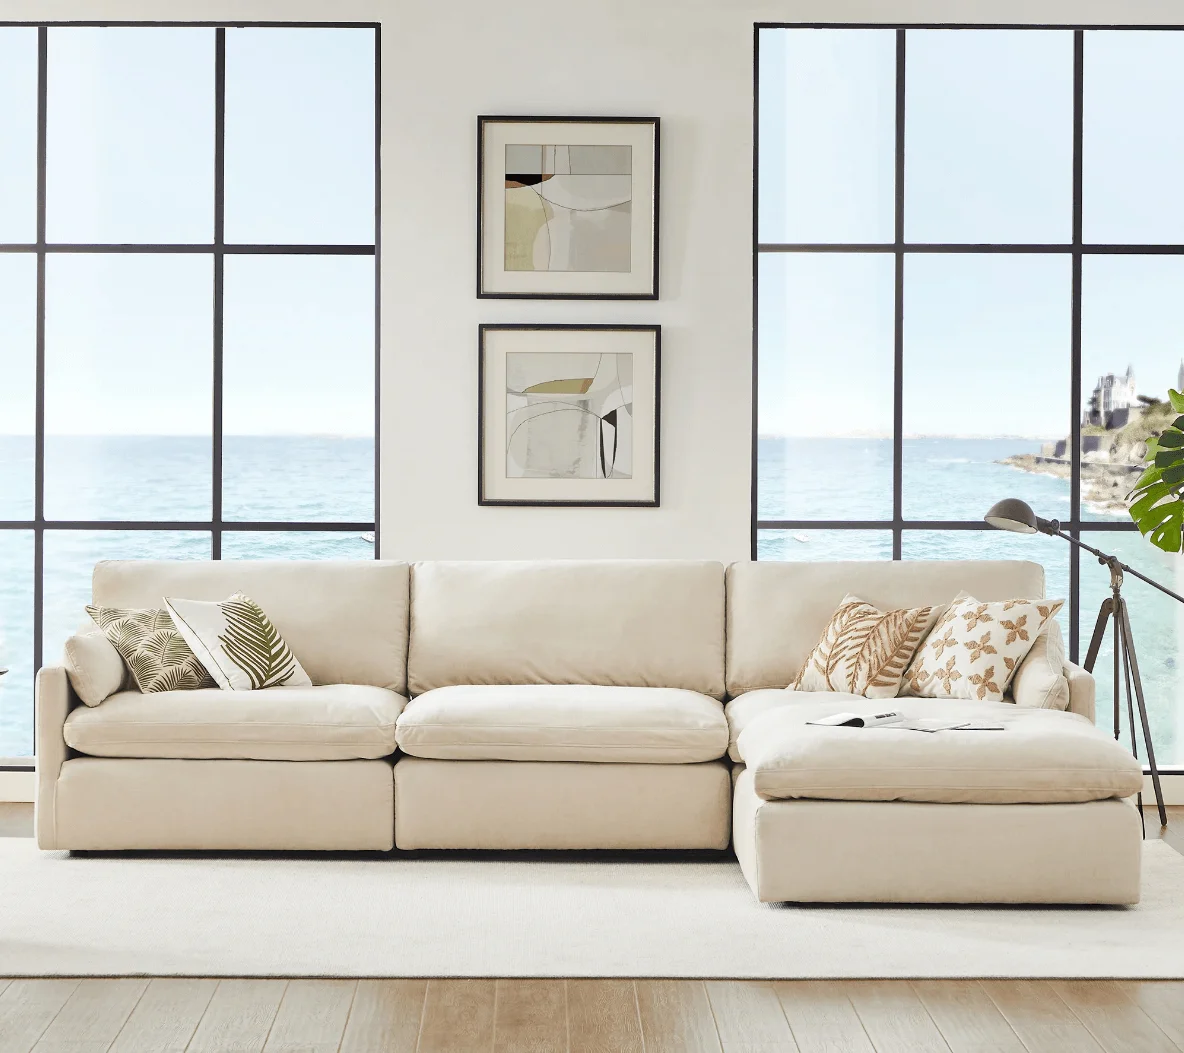
Clean lines, neutral palettes (whites, grays, blacks), and functional furniture define this style. It emphasizes “less is more,” with every piece serving a purpose. Best for those who value simplicity and dislike visual clutter. Budget range: $3,000-$8,000 for a living room transformation.
Key elements: Open floor plans, hidden storage, monochromatic color schemes, natural materials like wood and stone.
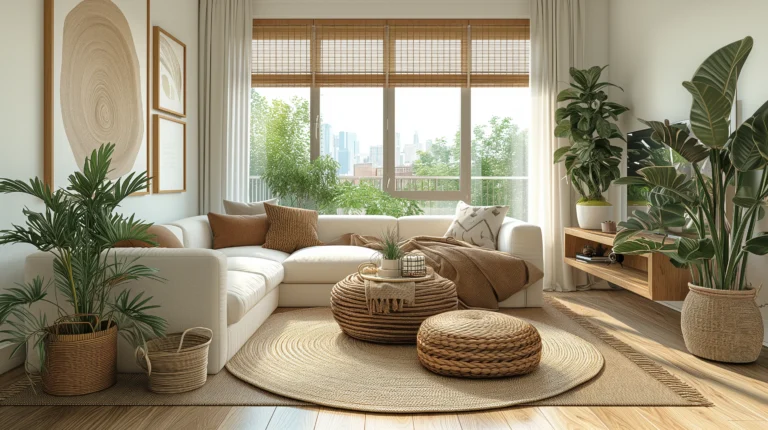
Similar to minimalism but warmer, incorporating natural woods, cozy textiles, and muted earth tones. Hygge (coziness) is central. Ideal for creating inviting, functional spaces without sacrificing style.
Key elements: Light wood floors, white walls, layered textiles, functional lighting, indoor plants.
Bohemian (Boho)
Eclectic, colorful, and pattern-rich, boho style celebrates individuality and global influences. If you’re drawn to vintage finds, vibrant textiles, and collected treasures, explore our detailed guide on boho living room decor for room-specific implementation strategies.
Key elements: Layered rugs, macramé, rattan furniture, jewel tones, mixed patterns.
Industrial
Exposed brick, metal fixtures, and raw materials characterize this urban-inspired style. Works exceptionally well in lofts or open-concept homes. Budget-friendly if you embrace existing architectural elements rather than covering them.
Key elements: Exposed ductwork, concrete floors, metal lighting, leather furniture, neutral color base with black accents.
Transitional
Blends traditional and contemporary elements for timeless appeal. Perfect for those who can’t decide between classic and modern, or who want a style that ages well. This approach often yields the highest resale value.
Key elements: Neutral foundations, mix of curved and straight lines, updated classic furniture, subtle patterns.
Style Comparison: Finding Your Perfect Match

| Design Style | Best For | Typical Budget (Living Room) | Maintenance Level | Resale Appeal |
|---|---|---|---|---|
| Modern Minimalist | Small spaces, busy lifestyles | $3,000-$8,000 | Low | High |
| Scandinavian | Family homes, cold climates | $2,500-$6,000 | Low-Medium | High |
| Bohemian | Creative individuals, renters | $1,500-$4,000 | Medium | Medium |
| Industrial | Lofts, open concepts | $4,000-$10,000 | Low | Medium-High |
| Transitional | Traditional homes, broad appeal | $5,000-$12,000 | Medium | Very High |
| Farmhouse | Suburban homes, families | $3,000-$7,000 | Medium | High |
Step 1: Planning Makes Perfect

The most expensive design mistakes happen when you skip the planning phase. I’ve seen homeowners waste thousands on furniture that doesn’t fit their space or style vision.
Create a comprehensive vision board: Use Pinterest, Instagram saves, or physical magazine clippings. Aim for 30-50 images that capture your desired aesthetic. After collecting, sort them into categories:
- Color palettes that appear repeatedly
- Furniture styles you’re drawn to
- Textures and materials
- Room layouts and spatial arrangements
Measure everything: Before purchasing a single item, measure your rooms, doorways, and existing furniture. Create a scaled floor plan (graph paper works, or use free tools like RoomSketcher). This prevents the common mistake of buying a sofa that won’t fit through your hallway.
Set a realistic budget: Allocate funds by priority:
– 40% for major furniture pieces
– 25% for lighting
– 20% for textiles and accessories
– 15% for unexpected needs or professional help
Establish a timeline: Room-by-room transformations work better than whole-house overhauls. Most people successfully complete one room every 4-8 weeks, allowing time to source pieces and avoid rushed decisions.
Step 2: Declutter and Donate First
This step is non-negotiable. In my experience transforming homes, removing excess items makes a more dramatic impact than any new purchase.
The honest assessment method: For each item, ask:
– Have I used this in the past year?
– Does it serve my new design vision?
– Would I buy it again today?
If you answer “no” to two or more questions, it’s time to let it go.
Where to donate: Research local charities, shelters, or thrift stores. Many offer free pickup for furniture. Schedule the pickup before you start decluttering—having a deadline increases follow-through by about 70%.
Storage solutions for keepers: Invest in matching storage containers for items you’re keeping. Clear bins work well for seasonal items, while decorative baskets suit living areas. The key is containment—if it doesn’t fit in designated storage, you have too much.
Design Tip #1: The Thrift Shop Strategy
Now that you’ve identified your vision and cleared space, visit thrift stores with your vision board (digital or printed). This “two birds, one stone” approach—donating while sourcing—keeps you focused.
Stick to your list: Create a specific shopping list before entering. Thrift stores are treasure troves but also potential budget traps. I recommend:
– Bringing exact measurements of spaces you’re filling
– Setting a strict spending limit ($50-$100 per visit)
– Focusing on solid wood furniture that can be refinished
– Avoiding upholstered pieces unless you’re prepared to reupholster
Best thrift finds: Mirrors, picture frames, vases, solid wood tables and chairs, lamps (rewire if needed), and decorative objects. Avoid: mattresses, particle board furniture, and anything with structural damage.
Step 3: Master Color Theory for Cohesive Spaces
Color creates mood more powerfully than any other design element. Understanding basic color theory prevents the “something feels off” problem that plagues many DIY projects.
The Color Wheel Fundamentals
Primary colors (red, blue, yellow) combine to create all other colors. Secondary colors (green, orange, purple) result from mixing primaries. Tertiary colors blend primary and secondary hues.
Color relationships that work:
- Complementary: Opposite on the wheel (blue/orange, red/green). Creates vibrant contrast but use sparingly—typically 10% accent color maximum.
- Analogous: Adjacent colors (blue, blue-green, green). Harmonious and easy on the eye, perfect for beginners.
- Triadic: Three evenly spaced colors. Bold and balanced but requires careful proportion management.
The 60-30-10 Rule in Practice
This professional designer secret creates balanced, cohesive rooms:
- 60% dominant color: Usually walls, large furniture pieces. Choose neutrals (white, beige, gray, greige) for flexibility.
- 30% secondary color: Curtains, accent chairs, area rugs. Adds personality while maintaining harmony.
- 10% accent color: Throw pillows, artwork, decorative objects. This is where you can be bold.
Example bedroom palette:
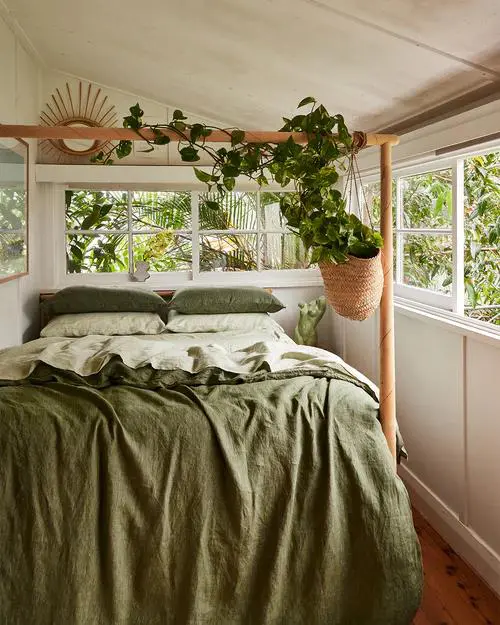
– 60%: Soft sage walls and bedding
– 30%: Natural wood furniture and cream curtains
– 10%: Terracotta throw pillows and artwork
For more on creating balanced color schemes, see our guide to the 60-30-10 decorating rule.
Room-Specific Color Strategies
Bedrooms: Prioritize calming, restorative colors. Cool tones (blues, greens, lavenders) lower heart rate and promote sleep. Warm neutrals (hazelnut, warm gray, soft taupe) create cocoon-like comfort. Avoid bright reds and oranges, which increase alertness.
Testing colors: Never choose paint from a tiny chip. Purchase sample pots ($3-$8 each) and paint 2’x2′ squares on different walls. Observe them at various times of day—morning light, afternoon sun, and evening artificial light all dramatically change color appearance.
Home offices: Choose based on your work style. Creative work benefits from energizing colors (coral, yellow, teal) in moderate saturation. Analytical work suits calming neutrals with blue undertones, which enhance focus. I’ve found that painting one accent wall in a deeper tone while keeping others neutral provides stimulation without distraction.
Living spaces: These multi-purpose rooms work best with neutral foundations and changeable accents. This allows seasonal updates through throw pillows, artwork, and accessories without repainting.
Design Tip #2: The Luxury Bedding Trick
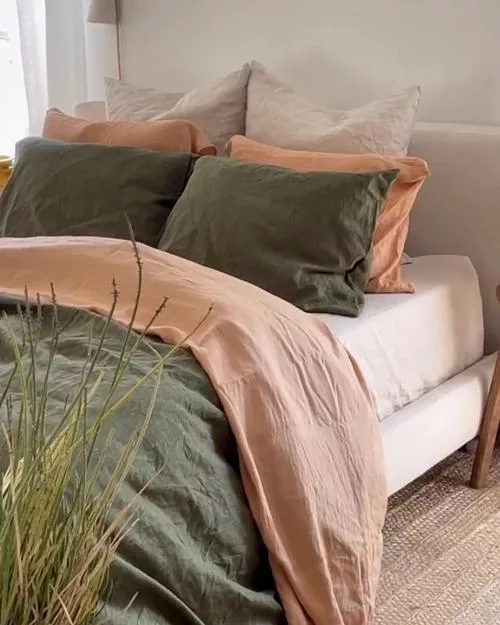
Create an instantly more luxurious bedroom by using a duvet one size larger than your mattress. A king duvet on a queen bed creates fuller, more generous draping that mimics high-end hotels.
Additional bedroom upgrades:
– Remove bed frame legs from platform bases for a modern, low-profile look (saves $300-$800 on a new frame)
– Layer bedding: fitted sheet, flat sheet, lightweight blanket, duvet, plus 2-3 decorative pillows
– Invest in quality sheets (300-400 thread count percale or sateen) rather than cheap high-thread-count options
Budget allocation: Spend 60% of your bedding budget on the duvet and pillows (what you feel), 40% on what you see (duvet cover, shams).
Step 4: Layer Texture, Pattern, and Shape
Flat, one-dimensional rooms feel sterile and uninviting. Professional designers create depth through strategic layering—a technique that’s surprisingly simple once you understand the principles.
Texture Layering Strategy
Aim for 3-5 different textures per room:
Visual textures (seen but not felt): Wallpaper, printed fabrics, wood grain, tile patterns
Tactile textures (felt): Velvet, linen, wool, leather, rattan, concrete, marble
Living room texture example:
1. Smooth leather sofa (tactile)
2. Nubby linen curtains (tactile)
3. Jute area rug (tactile)
4. Smooth ceramic vases (tactile)
5. Wood grain coffee table (visual)
6. Patterned throw pillows (visual)
The contrast principle: Pair rough with smooth, matte with sheen, soft with hard. A room with all smooth, shiny surfaces feels cold; all rough, matte surfaces feels heavy. Balance is key.
Pattern Mixing Without Chaos
Many people avoid patterns entirely, fearing clashing. Follow these guidelines for confident pattern mixing:
Scale variation: Combine large, medium, and small-scale patterns. Example: large floral curtains + medium geometric rug + small striped pillows.
Color cohesion: Patterns should share at least one color. This creates visual connection even when styles differ.
Pattern ratio: Use the 60-30-10 rule here too. One dominant pattern (60%), one supporting pattern (30%), one accent pattern (10%).
Beginner-friendly patterns:
– Stripes work with almost everything—vary the scale and direction
– Geometric patterns (chevron, quatrefoil, Greek key) add sophistication
– Organic patterns (florals, leaves) soften angular spaces
Where to add pattern: Start with low-commitment areas like throw pillows, which you can easily change. Once comfortable, progress to curtains, area rugs, or wallpaper accent walls.
Shape and Form
Rooms dominated by rectangular furniture and straight lines feel rigid. Introduce curves and organic shapes to soften and add visual interest.
Curved elements to consider:
– Round or oval coffee tables ($150-$800)
– Arched mirrors ($80-$400)
– Curved sofas or sectionals ($1,200-$4,000)
– Spherical pendant lights ($60-$300)
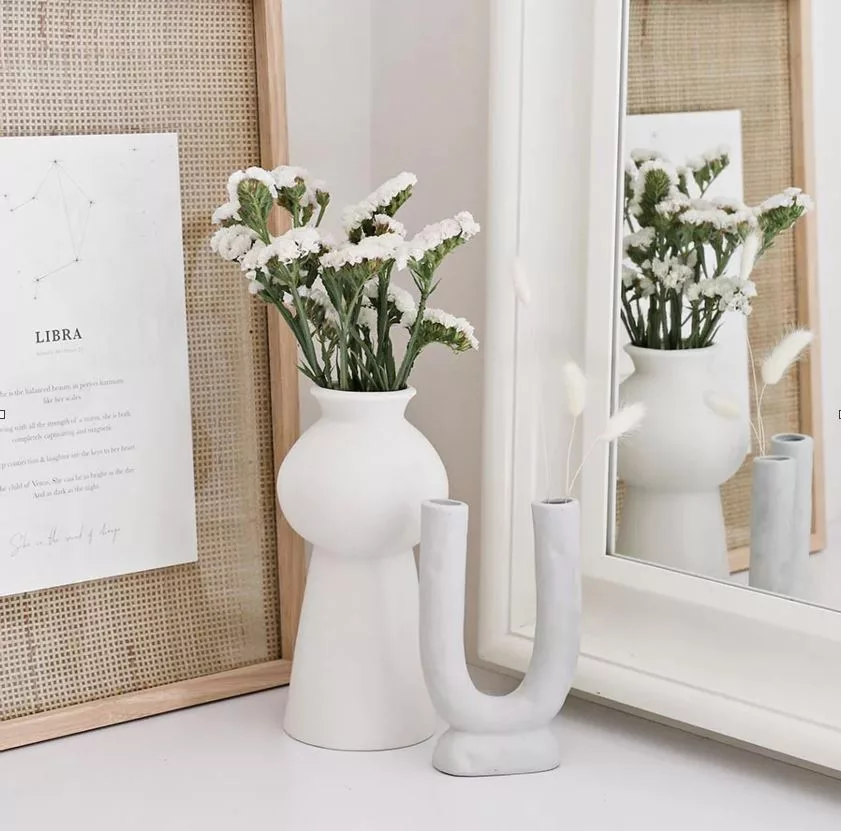
– Organic-shaped vases and decorative objects ($20-$150)
Placement strategy: Use curved pieces as focal points or to break up linear arrangements. A round dining table in a rectangular room, for instance, improves flow and conversation.
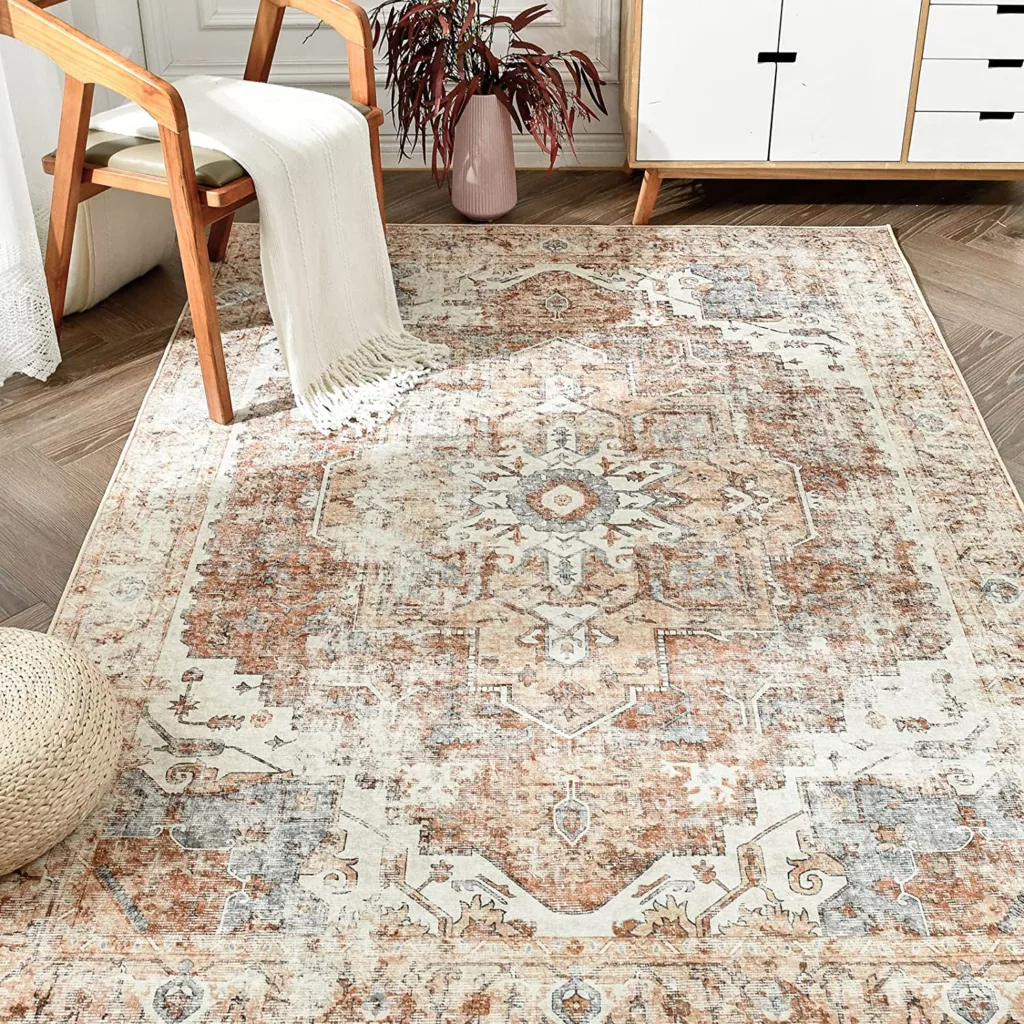
High-pile rugs (1.5-3 inches) add significant texture and warmth, especially in minimalist spaces. Expect to pay $300-$1,500 for quality options in standard living room sizes. Rugs with tassels or fringe add bohemian flair and visual weight to anchor furniture groupings.
Step 5: Light Up Your Life
Lighting is the most underestimated design element. The same room can feel energizing or relaxing, spacious or cramped, expensive or cheap—all based on lighting choices.
Understanding Light Temperature
Measured in Kelvin (K), color temperature dramatically affects ambiance:
- 2000-3000K (Warm white): Cozy, relaxing, flattering to skin tones. Best for bedrooms, living rooms, dining areas.
- 3500-4100K (Neutral white): Balanced, natural. Works for kitchens, bathrooms, hallways.
- 5000-6500K (Cool white/Daylight): Energizing, crisp, shows true colors. Ideal for home offices, task lighting, garages.
Lumens vs. Watts: Lumens measure brightness; watts measure energy consumption. For LED bulbs:
– 450 lumens = 40W incandescent equivalent
– 800 lumens = 60W equivalent
– 1100 lumens = 75W equivalent
– 1600 lumens = 100W equivalent
Bedroom lighting formula: Aim for 2000-4000 lumens total, distributed across multiple sources. This allows layered lighting: overhead for cleaning, bedside for reading, accent for ambiance.
The Three-Layer Lighting Approach
Ambient lighting: General illumination from ceiling fixtures, recessed lights, or chandeliers. Should provide even, overall light.
Task lighting: Focused light for specific activities—reading lamps, under-cabinet kitchen lights, desk lamps, vanity lights.
Accent lighting: Decorative and atmospheric—picture lights, wall sconces, LED strips, candles. Creates depth and highlights architectural features or artwork.
Budget allocation: 50% ambient, 30% task, 20% accent for functional spaces. Reverse this (20% ambient, 30% task, 50% accent) for mood-focused rooms like dining areas or bedrooms.
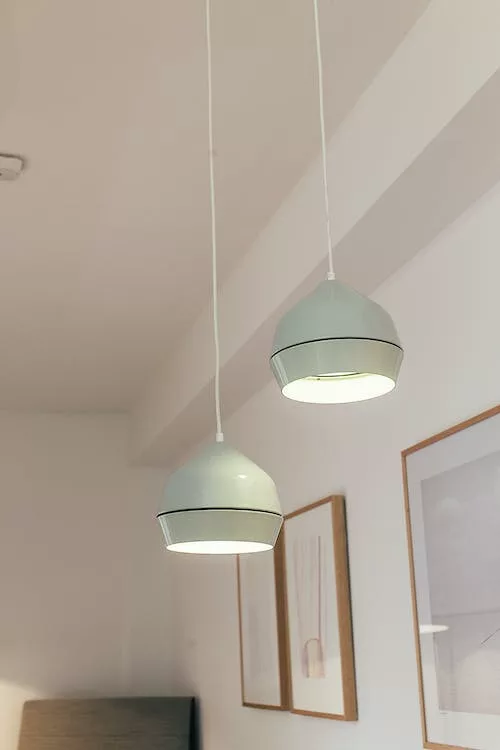
Design Tip #3: Faux Pendant Installation
Love the look of hardwired pendant lights flanking your bed but don’t want to hire an electrician ($200-$500 per fixture installed)?
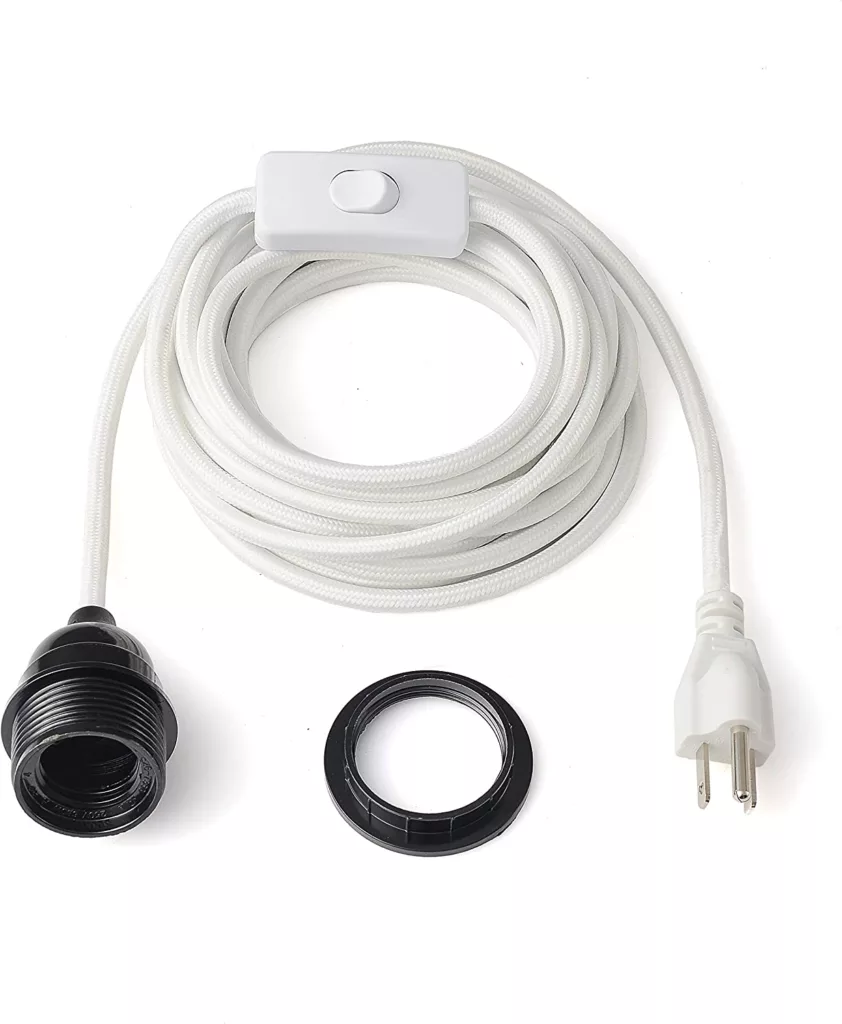
The plug-in solution:
1. Purchase pendant lights with plug-in cords ($40-$150 each)
2. Use clear cable clips or decorative cord covers to run the cord up the wall or door frame
3. Attach to ceiling with adhesive hooks rated for the fixture weight
4. Install a dimmer switch on the outlet ($15-$30) for adjustable ambiance
This achieves the designer look for under $150 total versus $600-$1,200 for professional installation.
Other plug-in upgrades:
– Dining room pendants hung from ceiling hooks
– Picture lights that appear hardwired
– Wall sconces with cord covers painted to match walls
Statement Lighting Pieces
Lighting fixtures serve as functional sculpture. Invest in at least one statement piece per main living area:
- Dining room: Chandelier or linear pendant ($200-$1,500)
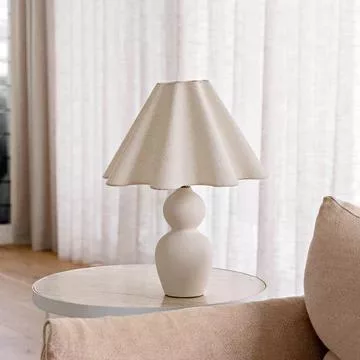
- Living room: Arc floor lamp or sculptural table lamps ($150-$600)
- Bedroom: Matching bedside pendants or unique table lamps ($100-$400 pair)
- Entryway: Dramatic chandelier or oversized pendant ($250-$2,000)
Shopping tip: Search for “statement lighting” on Amazon to compare styles and prices across hundreds of options.
Step 6: Go Green with Indoor Plants
Plants add life, improve air quality, and provide organic texture that softens hard surfaces. NASA studies show certain plants remove up to 87% of air toxins in 24 hours.
Best Low-Maintenance Plants for Beginners
Snake Plant (Sansevieria): Tolerates neglect, low light, and irregular watering. Removes formaldehyde and benzene. $15-$40 depending on size.
Pothos: Trailing vine perfect for shelves or hanging planters. Thrives in various light conditions. $10-$25.
ZZ Plant (Zamioculcas zamiifolia): Glossy leaves, extremely drought-tolerant, grows in low light. $20-$50.
Monstera Deliciosa: Statement plant with dramatic split leaves. Needs moderate light and weekly watering. $25-$100.
Fiddle Leaf Fig: Trendy but temperamental. Requires bright indirect light and consistent care. $30-$150.
Plant Placement Strategy
Light assessment: Observe your space throughout the day. South-facing windows provide bright light; north-facing offer low, indirect light. Match plants to available light rather than forcing them into unsuitable spots.
Grouping for impact: Cluster 3-5 plants of varying heights creates more visual impact than scattering singles. Use the “thriller, filler, spiller” approach: one tall statement plant, medium-sized fillers, and trailing spillers.
Functional placement:
– Bathrooms: Ferns and orchids thrive in humidity
– Bedrooms: Snake plants and peace lilies (release oxygen at night)
– Home offices: Pothos and philodendrons (easy care, don’t distract)
– Living rooms: Fiddle leaf figs and monstera (statement pieces)
Pot selection: Choose containers that complement your design style and have drainage holes. Budget $10-$50 per planter. Ceramic and terracotta suit traditional and bohemian styles; concrete and metal fit modern and industrial aesthetics.
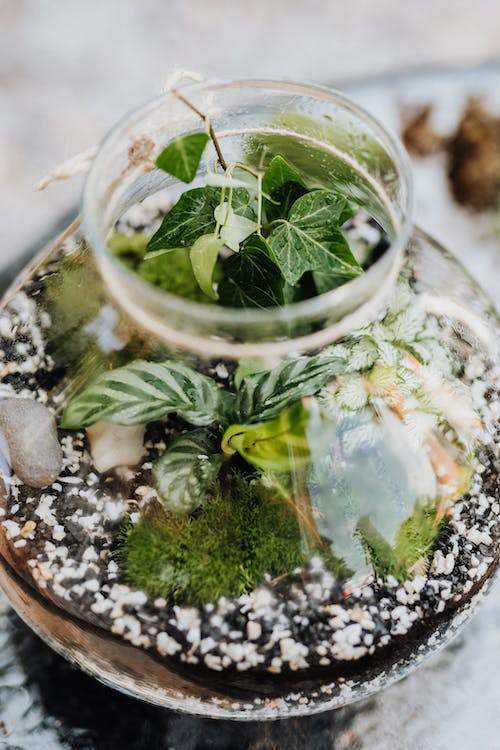
Design Tip #4: DIY Terrarium Project
Create a low-maintenance statement piece with a closed terrarium. This self-sustaining ecosystem requires watering only every 4-6 months.
Materials needed ($30-$60 total):
– Glass container with lid (fish bowl, apothecary jar, or geometric terrarium)
– Small pebbles or aquarium gravel
– Activated charcoal
– Potting soil
– Small tropical plants (fittonia, ferns, moss)
– Decorative elements (stones, figurines)
Assembly: Layer 1″ pebbles, ½” charcoal, 2-3″ soil. Plant, add decorations, mist lightly, seal. Place in indirect light.
This makes an excellent project with children and creates a unique focal point for shelves, coffee tables, or desks.
Step 7: Assess and Refresh Existing Elements
Before buying new items, evaluate what you already own. Many pieces can be refreshed, repurposed, or relocated for dramatic improvement.
Furniture assessment:
– Can it be painted or refinished? (Wood pieces)
– Would new hardware update the look? (Dressers, cabinets)
– Could reupholstering extend its life? (Chairs, ottomans)
– Does it work better in a different room?
Cost comparison: Reupholstering a quality chair costs $300-$800 versus $500-$2,000 for new. Painting a dresser costs $50-$150 in supplies versus $400-$1,200 for new furniture.
When to replace vs. refresh:
– Replace: Particle board furniture, structurally damaged pieces, outdated upholstery with poor frames
– Refresh: Solid wood furniture, quality frames with dated fabric, pieces with sentimental value
Plant revival: Move struggling plants to more suitable light conditions. Repot rootbound plants. Prune dead growth. Sometimes a $5 pot and fresh soil revives a $50 plant.
Artwork rotation: Store half your artwork and rotate seasonally. This keeps your space feeling fresh without new purchases. Group smaller pieces in gallery walls for greater impact than scattered singles.
Bringing It All Together: Room-by-Room Application
Living Room Transformation
- Foundation: Neutral sofa in durable fabric ($800-$2,500)
- Color: Add secondary color through area rug and curtains
- Texture: Layer throw pillows, blankets, varied materials
- Lighting: Floor lamp + table lamps + accent lighting
- Plants: 2-3 statement plants in decorative pots
- Personal touches: Artwork, books, collected objects
Timeline: 6-8 weeks | Budget: $2,500-$6,000
Bedroom Sanctuary
- Color: Calming wall color, quality bedding in complementary tones
- Lighting: Bedside lamps (matching or coordinating), dimmable overhead
- Texture: Layered bedding, area rug, curtains
- Furniture: Nightstands, dresser in cohesive style
- Declutter: Minimize visible items, maximize hidden storage
- Plants: 1-2 air-purifying plants
For additional ways to create a restful retreat, explore our guide on how to make a house feel homey.
Timeline: 4-6 weeks | Budget: $1,500-$4,000
Home Office Productivity
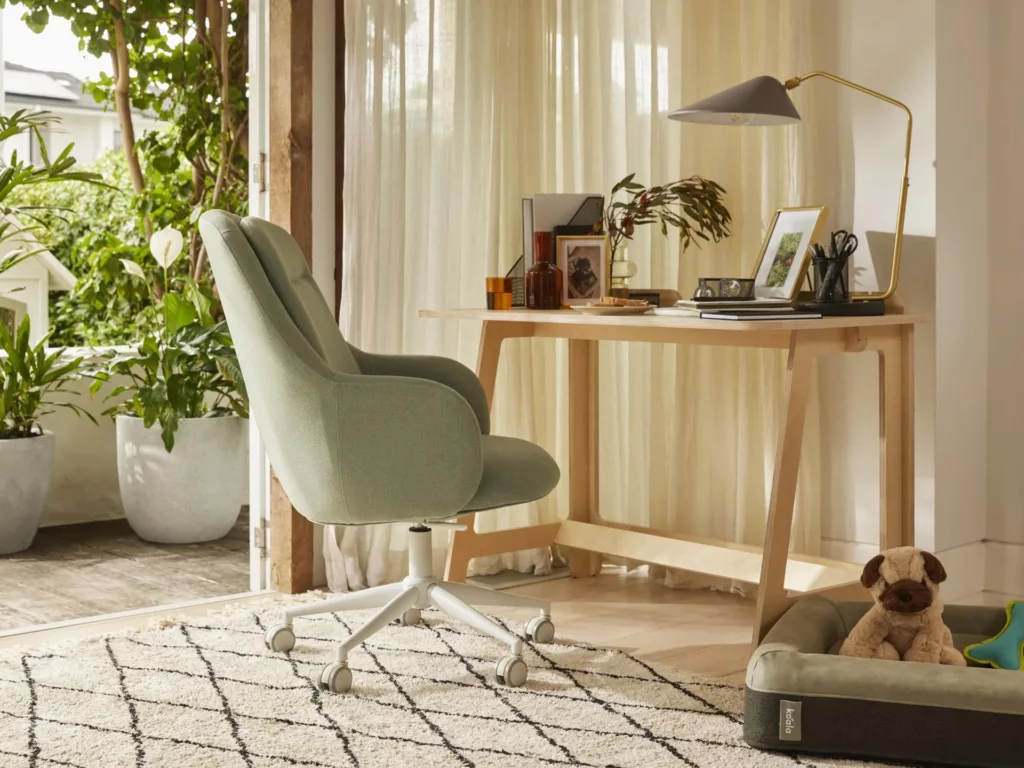
- Furniture: Ergonomic chair ($200-$800), functional desk
- Lighting: Task lighting + ambient lighting, 4000-5000K bulbs
- Color: Focus-enhancing colors or calming neutrals based on work type
- Organization: Visible storage for frequently used items, hidden for everything else
- Plants: Low-maintenance desk plant
- Personal: Inspiring artwork, minimal decorative objects
Timeline: 2-3 weeks | Budget: $800-$2,500
Advanced Tips: Creating Luxury on a Budget
Want your home to look expensive without the price tag? These professional strategies deliver high-end results affordably.
Paint is your best investment: Fresh paint transforms spaces for $200-$500 per room. Choose one accent wall in a deeper tone rather than painting everything a bold color.
Upgrade hardware: Replacing cabinet pulls, door handles, and light switch covers costs $100-$300 but makes everything look newer and more cohesive.
Large-scale art: One oversized piece ($100-$400) looks more expensive than multiple small pieces. DIY options: frame fabric, create abstract art, or enlarge and frame personal photography.
Curtains to the ceiling: Hang curtain rods at ceiling height, not window height. This makes ceilings appear taller and rooms more grand. Use inexpensive panels—the installation height matters more than fabric quality from a distance.
Edit ruthlessly: Luxury spaces have breathing room. Remove 20-30% of decorative objects and furniture. What remains gains importance.
For comprehensive strategies, see our detailed guide on making your home look expensive on a budget.
Design Tip #5: Document Your Transformation
This final tip is crucial: take before and after photos. This serves multiple purposes:
Motivation: Seeing progress keeps you energized through the project
Appreciation: You’ll fully recognize the transformation
Reference: Document what works for future projects
Sharing: Help others by sharing your journey
Photography tips:
– Shoot from the same angle for true before/after comparison
– Use natural light when possible
– Declutter completely before “after” shots
– Include wide shots and detail shots
– Take photos at multiple stages, not just beginning and end
Celebrate your accomplishment: Completing a design project—whether one room or your entire home—deserves recognition. Host a small gathering, post on social media, or simply enjoy a quiet evening appreciating your transformed space.
Shop This Look
Editor-picked finds to bring this style home:
- Velvet Tufted Sofa →Adds luxurious texture and a touch of classic elegance to any living space.
- Mid-Century Modern Credenza →Offers sleek storage and a timeless, sophisticated aesthetic for your home.
- Abstract Geometric Area Rug →Introduces contemporary art and defines zones with modern visual interest.
- Ceramic Table Lamp →Provides ambient lighting and a handcrafted, artisanal touch to your decor.
As an Amazon Associate we earn from qualifying purchases.
Frequently Asked Questions
What interior design style is most timeless?
Transitional style offers the most longevity because it blends classic and contemporary elements without committing fully to trends. Neutral color palettes with quality materials and clean lines age well. That said, the most timeless design reflects your authentic preferences rather than chasing trends—you’ll maintain and update a space you genuinely love. For furniture specifically, our guide on what color sofa is most timeless provides detailed recommendations.
How much should I budget for redecorating a room?
Budget $1,500-$4,000 for a bedroom, $2,500-$6,000 for a living room, and $800-$2,500 for a home office, assuming you’re keeping major furniture and focusing on refresh elements (paint, textiles, lighting, accessories). Complete transformations with new furniture cost 2-3 times these amounts. Allocate 40% to furniture, 25% to lighting, 20% to textiles, and 15% to accessories and unexpected needs.
What’s the biggest mistake people make when decorating?
Buying furniture and decor before establishing a clear vision and measuring the space. This leads to mismatched styles, incorrect sizes, and wasted money. The second biggest mistake is pushing all furniture against walls—floating furniture creates better flow and conversation areas. Always plan first, measure twice, and purchase strategically rather than impulsively.
How do I choose between multiple design styles I like?
Create separate vision boards for each style, then identify common elements—these reveal your true preferences. Most people are drawn to a primary style (60-70% of choices) with elements from 1-2 complementary styles. Transitional design specifically accommodates this by blending traditional and modern. Start with one room in your primary style before committing to the whole house.
Can I mix different design styles in one home?
Yes, but maintain connecting elements for cohesion. Use a consistent color palette throughout, repeat materials (like wood tones or metal finishes) across rooms, and ensure the overall formality level is similar. Transitional spaces (hallways, entryways) can bridge different styles between rooms. The key is intentional mixing rather than random combinations—each room should feel purposeful, and the home should flow logically.
How often should I update my interior design?
Refresh accessories and textiles (pillows, throws, artwork) every 1-2 years to keep spaces feeling current. Update paint and larger decor elements every 5-7 years. Replace major furniture every 10-15 years or when it shows significant wear. However, if you’ve chosen quality pieces in a timeless style you love, you may only need minor updates indefinitely. Trends come and go—prioritize personal preference and quality over chasing every new style.
Conclusion: Your Path to a Beautifully Styled Home
Transforming your home into a space that reflects your style and meets your needs is entirely achievable with strategic planning and informed decisions. The key principles—establishing a clear vision, understanding color and texture, layering lighting thoughtfully, and editing ruthlessly—apply regardless of your specific aesthetic preferences or budget constraints.
Start with one room. Apply these principles systematically. Document your progress. Most importantly, trust your instincts while using these guidelines as guardrails. The most successful spaces balance design principles with personal authenticity.
Your next step: Choose one room to transform. Create your vision board this week. Measure your space and existing furniture. Set a realistic budget. Then begin with decluttering—the foundation of every successful design project.
Remember that professional designers develop their skills over years of practice. Be patient with yourself, learn from each decision, and enjoy the process of creating a home that truly feels like yours.
For deeper exploration of design fundamentals, review the 7 principles of interior design to understand the theory behind these practical applications.
Share your transformation: Help others discover these strategies by sharing this guide. Your before-and-after photos might inspire someone else to finally tackle that project they’ve been postponing.
Happy styling!